How to build stone steps

Build stone steps to make the best use of your outside space.

Stone steps are a great way of making the most of your outdoor space. Different levels in the garden need to be connected to make a safe and clear route to move through the garden. Sometimes a slope will suffice, sometimes stone steps are required. The gradient and the length of the slope will dictate whether garden steps or a slope is best. Find out the best material to use and the basic method to build stone steps here.

When stone steps are required, we advise buying a product specifically made for use as a step tread, rather than a standard paving slab. There are a number of reasons for choosing a specific step tread over a standard paver:

Why you should consider using a specifically designed product rather than a standard paver

  1. Standard paving slabs are generally 25-35mm thick (much thinner if bought from some outlets). If these are used as a step tread, they may not be substantial enough for the amount of foot traffic.
  2. Paving slabs that are hand-cut sometimes have an undercut edge, designed to enable a neat pointing joint when laying paving. If slabs such as these are used as step treads, the undercut edge may not look as good.
  3. The undercut edge of a hand-cut paving slab is also both sharp and therefore potentially dangerous for users. Also, the tapering edge will prove to be fragile after continued use, breaking away in time.

Recommended material for building stone step treads

At Stoneworld we recommend using extra-thick sandstone for creating stone step treads.

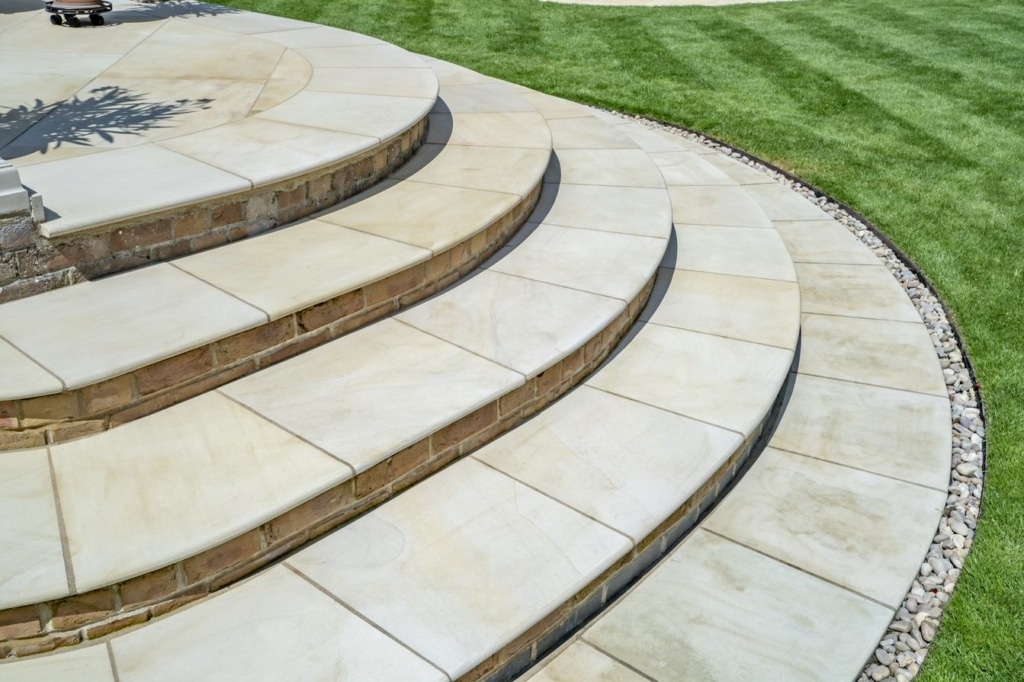
We offer a wide range of stone steps to pick from. One of the options we have available is Indian stone steps which are extremely durable and strong. They come in two popular colours: Raj Green and Fossil Mint. Indian stone steps will definitely enhance the aesthetic of your house and add some unique features. We can make bespoke stone steps in any shape you would like. This includes a straight step design as well as rounded stone steps.

Our extra-thick sandstone is 50mm thick, making it very substantial and hardwearing. This gives a pleasing finish to any landscaping job, and it creates a safe and sturdy surface that will endure for many years.

It is available in several sandstone variations to match different styles of paving and stone steps.

Extra-thick sandstone, hand-cut with a straight fettled edge matches hand-cut Indian sandstone with a riven surface. The front facing edge is not sharp as it has been hand-fettled to be virtually straight, but still has a undulating surface edge which fits in which the style of the paving. Extra-thick hand fettled sandstone is available in Raj Green or Fossil Mint, the step treads are available in 2 sizes:

Sizes:

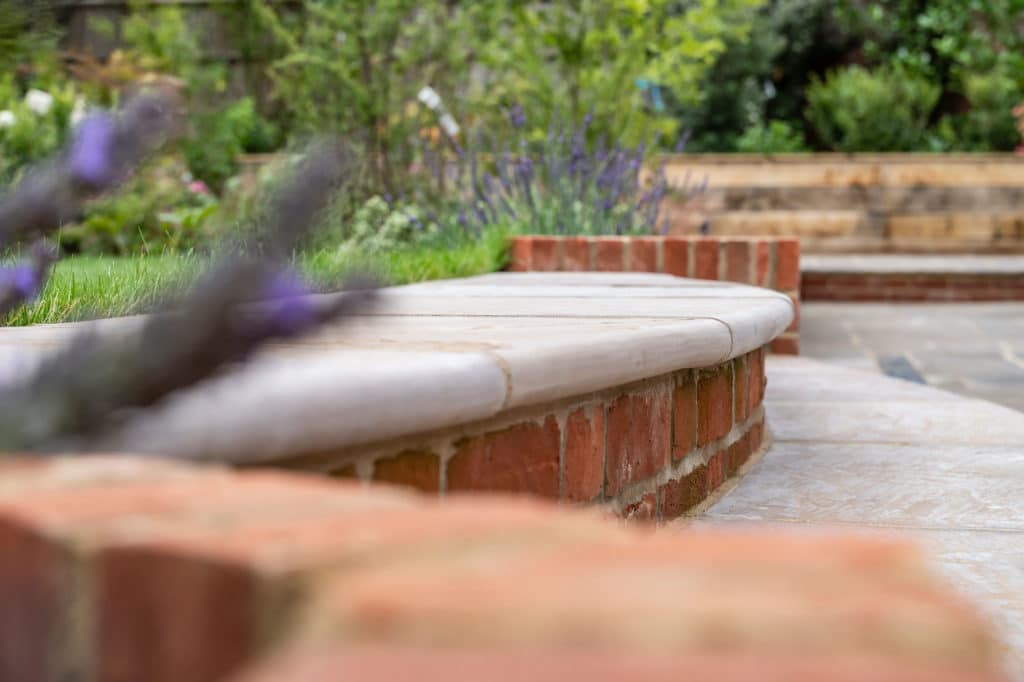
For smooth surfaced step tread choose a sawn and sandblasted, or a honed step tread. This style of step tread features a bullnosed front edge which is softly rounded:

Raj Green Sawn and Sand Blasted Extra Thick Sandstone for step treads, wall copings and terrace edging

Yellow Mint and White Mint Sandstone extra-thick sandstone for step treads, wall copings and terrace edging.

Sawn and sandblasted

Sizes: 900mm x 600mm x 50mm

Honed: sawn on 6 sides for a clean contemporary look with a low sheen smooth surface.

Sizes:

How to build garden steps using extra-thick stone step treads:

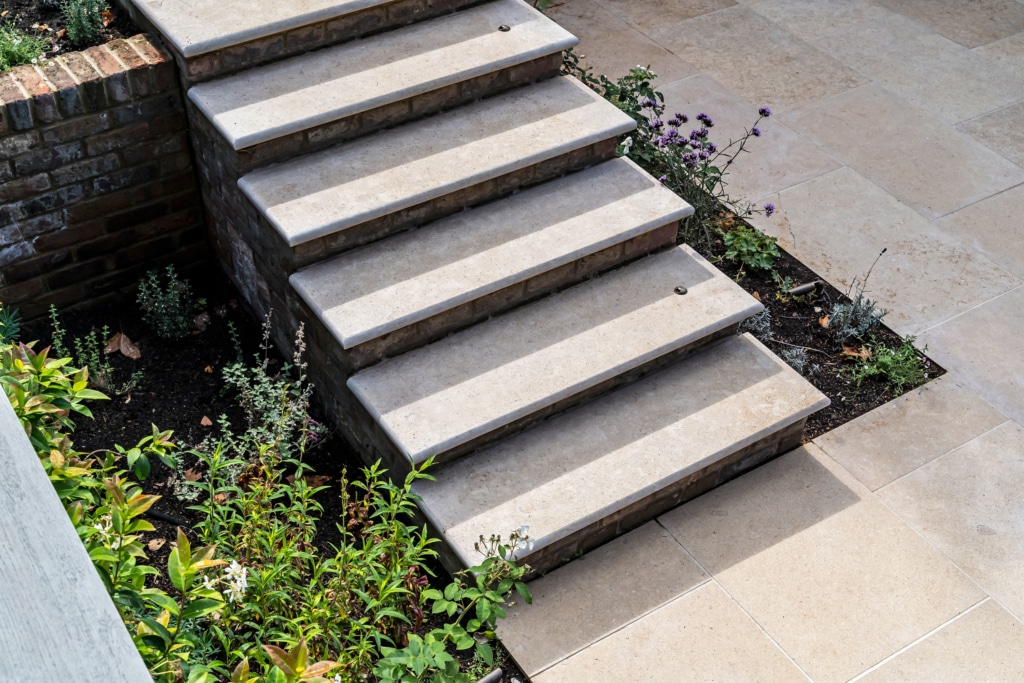
  1. Risers may be made from cut down slabs or contrasting materials such as stone walling or bricks. The first riser is laid on a concrete bed, while the rest of the risers are bedded directly onto the step tread below. The tread lengths are all the same, but the excavation for the first step is longer than the others.
  2. Mark out the site with builder’s line and pegs. Fix two parallel lines down the length of the slope to mark the outer edge of the steps, and two more to mark the top and bottom. Check corners for a right angle with a builder’s square.
  3. Calculate how many steps are required by first measuring the vertical height of and horizontal distance of the flight of steps. Knock in a peg to mark the back of the highest tread, then hold one end of a long spirit level (or a level and straightedge) at the top of the peg.
  4. Divide the vertical height by your riser height to calculate how many tread s are required.
  5. Strip away any turf in the marked out area.
  6. Use lines to mark the back of the treads – allow an extra 50mm depth at the back of the tread, to allow enough room to work. Roughly shape the steps with a spade. Leave enough depth beneath the stone step treads for 100mm of hardcore.
  7. Dig a trench about 125mm deep for the footing for the first riser. Drive in pegs levelled with a spirit level to mark the surface of the footing before you pour in the concrete. If you are going to have a paved surface leading to the steps, then dig a deeper footing and lay one or two courses of engineering bricks on top of it, below ground level. You will then be able to lay your paving right up to the first riser.
  8. Concrete the footing, making sure the surface is level with your pegs. Leave it to dry for 24 hours before you build on it.
  9. Build the first riser on the concrete footing.
  10. Fill behind the riser with hardcore – it should extend beyond the back of the slab when you lay it. After this, then compact the hardcore with an earth rammer. The hardcore should rise slightly towards the back of the step. You can do this by using a spirit level and laying 10mm of shim across the front of the step.
  11. Lay a continuous bed of mortar on the riser and hardcore, and position the slab for the first tread on top of it. The slab should overhang the riser at the front and sides by about 40mm. Place the spirit level along the front edge to check the step is in line. If you are laying two slabs side by side, make a pointing mortar with three parts sharp sand to one part cement, and spread it on the edge of the first slab before you lay the second. This will make it easier to fill the joints.
  12.  Use a spirit level and 10mm shim to check the treads have a slight fall towards their front edge. Then fill all the joints with mortar.
  13. Next, build the next riser on the first tread. Check its depth is the same as the first, and make any adjustments to the horizontal joints.
  14. Carry on building the steps, checking the tread lengths are right. Then place a long spirit level or straightedge on the front edge of the treads to check they are in line.

If you have any questions please call us on 01844 279274 or email us at sales@stoneworld.co.uk and one of our team will be happy to help.

Alternatively, please leave your details below and one of our team will be in touch shortly.

FAQs and further advice

Q Which is the right way up to lay a natural stone paving slab?
Read on
Q How to lay a natural stone patio
Read on
Q Do you need to seal stone surfaces to protect them?
Read on
Q How do I remove Green Algae from my patio?
Read on
Q What is meant by the different names applied to stone paving?
Read on
Q Where can I buy the best sandstone paving
Read on
Q Why buy thicker sandstone paving slabs when thinner (calibrated) will cost less?
Read on
Q Where can I get stone step treads?
Read on